Creating a Cloud Account
This section provides an overview of cnMaestro Cloud Accounts. This section includes the following:
Overview
There are two types of accounts for cnMaestro cloud management.
Table 1: Account types
|
Account
|
Description
|
| Cloud NMS |
Cloud NMS accounts allow users to manage their devices through https://cloud.cambiumnetworks.com. Devices can be claimed, onboarded, and fully managed through the cloud service.
|
|
Cloud Anchor
|
Cloud Anchor Accounts are needed for on-premises installations of cnMaestro. After cnMaestro is deployed in a local data center, it connects to a Cloud Anchor Account. See the following section for more details on Creating an Anchor Account.
|
Both Cloud NMS and Cloud Anchor Accounts require a Support Center ID to login.
Creating a Support Center User ID
New Cambium Cloud users need to register with Cambium Support Center to create a Support Center ID.
|
2.
|
In the Sign In page, select click here to register. |
|
3.
|
Enter your email address in the text box and click Register. |
|
4.
|
An email will be sent to the address provided. Open the email and click the link. |
|
5.
|
Fill in details on the registration completion form, such as your name, the name of your company, and a password. |
|
6.
|
Click Sign in to log into the UI. |
Creating a Cloud NMS Account
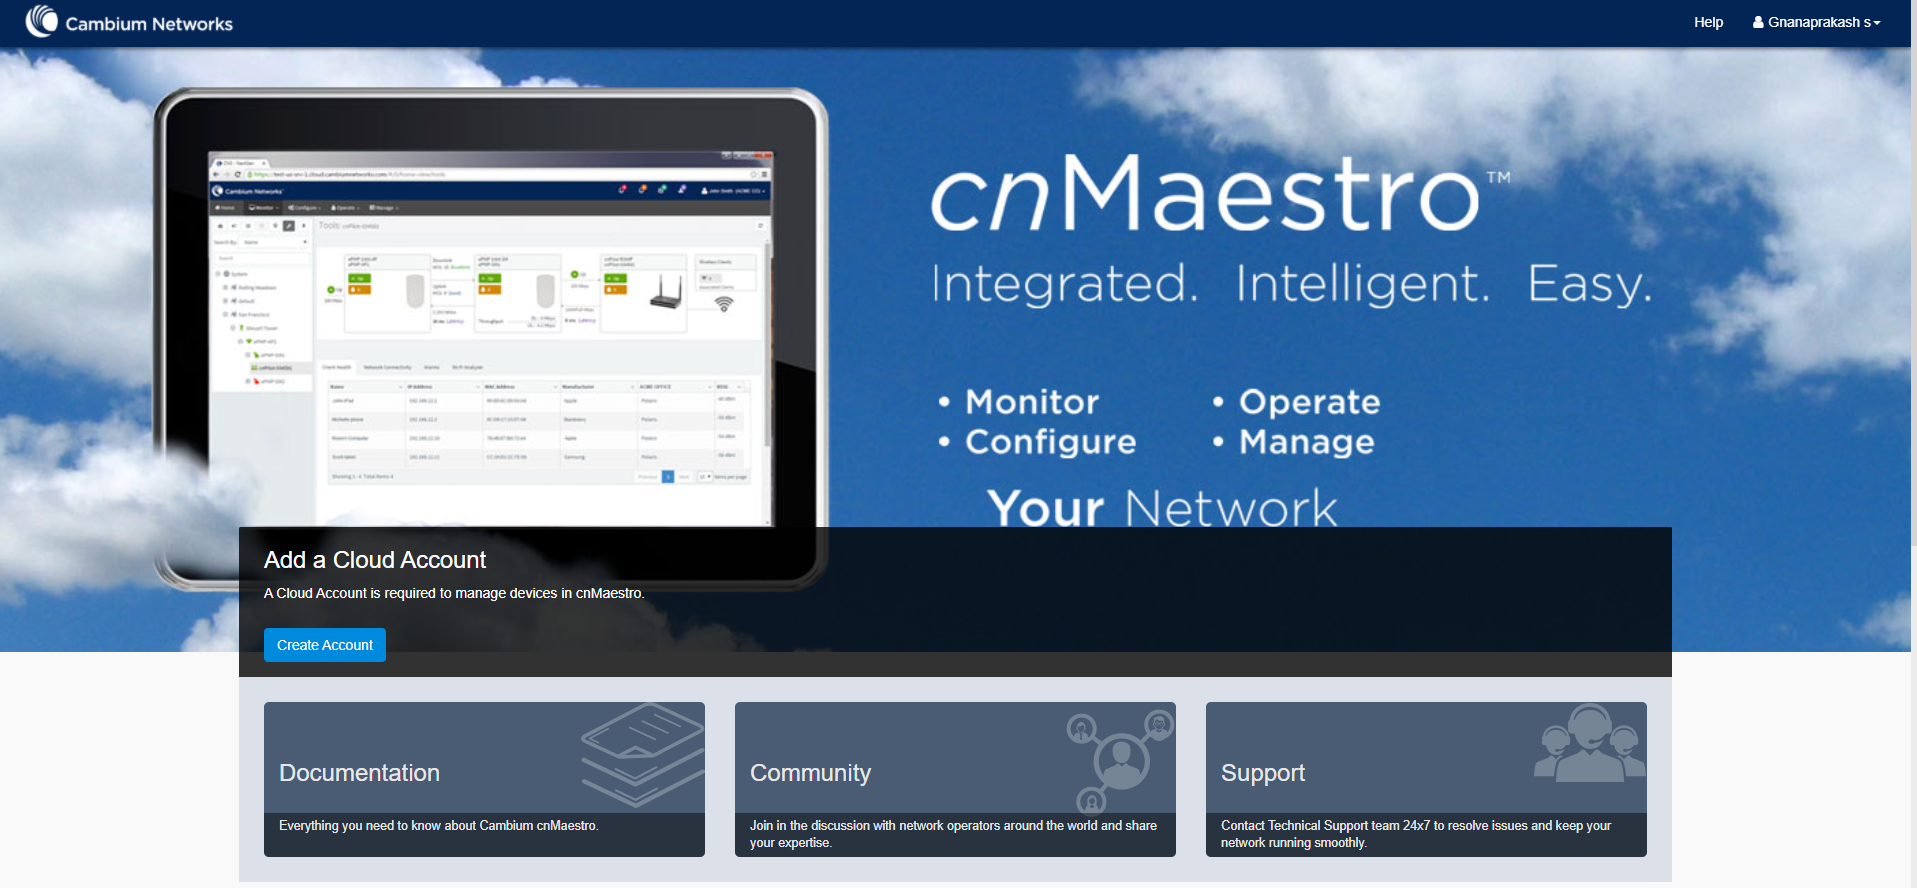
If you do not have a Cloud NMS Account, you will be asked to create one after logging in and accessing cnMaestro Cloud. The NMS Account allows you to access cnMaestro functionality and start claiming devices.
|
2.
|
Click Create Account. You will be redirected to the Cambium Networks Cloud Services page. |
|
3.
|
Enter details such as Cambium ID, Cloud Account Name, Country, Time Zone, Account Type, and Account View. The Account Type should be set to NMS. |
Figure 1 Create Cloud NMS account
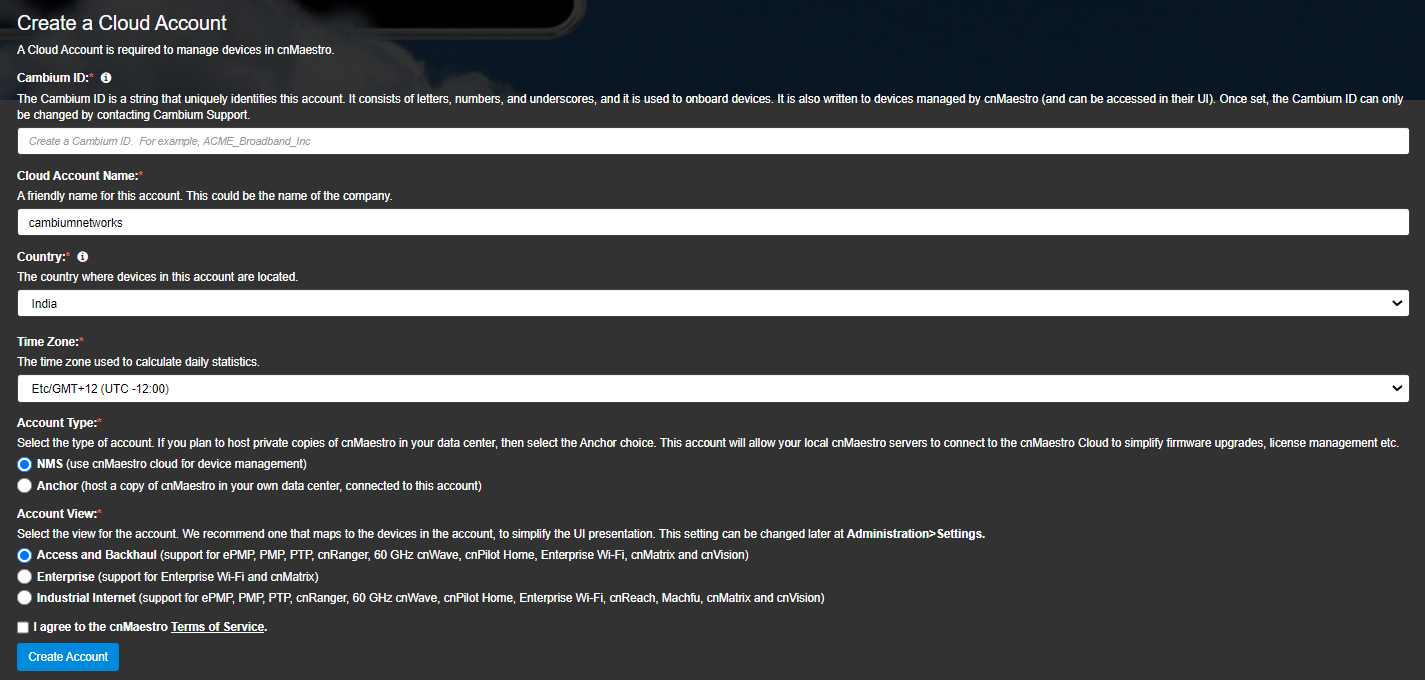
The required fields are defined below:
Table 2: NMS Cloud management fields
|
Parameter
|
Description
|
|
Account Type
|
The Account Type is either NMS or Anchor. Select NMS to manage devices through cnMaestro Cloud. Select Anchor if installing cnMaestro On-Premises.
|
| Account View |
The Account View sets the presentation of the cnMaestro UI. Select Enterprise if only cnMaestro Enterprise devices will be managed (these include the cnPilot E Series and ePMP Hotspot). The Account View can be changed later by navigating to Administration > Settings. |
| Cambium ID |
The Cambium ID identifies this account externally. Once created, it can only be changed by contacting Cambium Support. |
| Cloud Account Name |
The Cloud Account Name is generally the same as the Company that owns the devices. It is informational. |
| Country |
The Country determines where to store the device data. Cambium has data centers in North America, Europe, and Asia. If your devices are located in more than one region, you should create a separate account for a country in each region. |
| Time Zone |
The Time Zone aggregates daily device statistics. Daily statistics are collected starting at 12:00 AM in the time zone selected. |
|
6.
|
Click the drop-down next to the username to view the created Cloud account. |
Once you have created a Cloud NMS Account, you will be directed to the home page on subsequent login.
Creating an Anchor Account
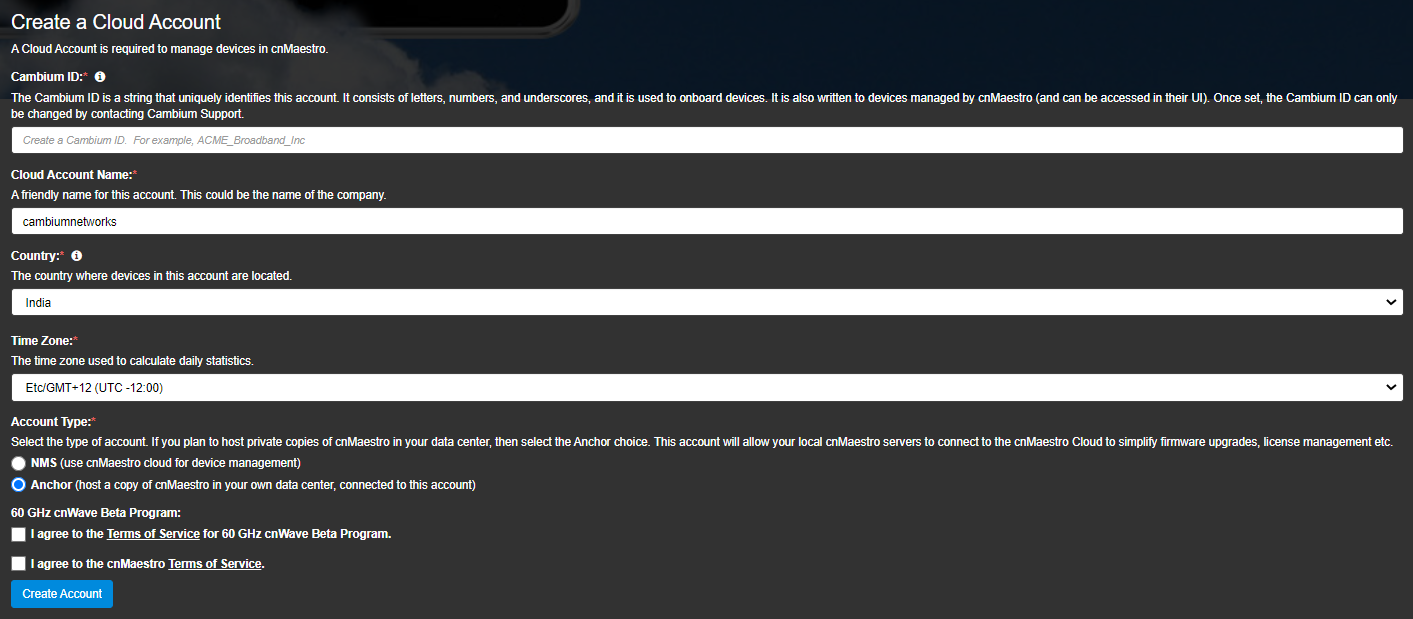
An Anchor Account is required only if installing cnMaestro On-Premises.
|
2.
|
In Account Type, select Anchor. |
|
3.
|
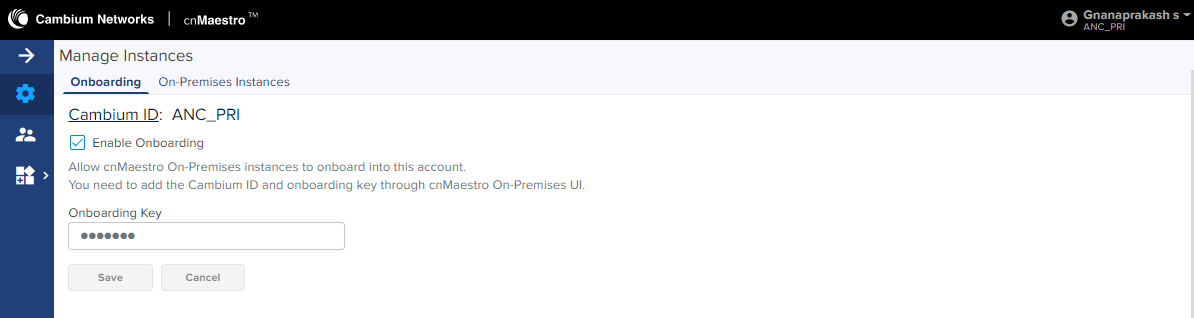
Once the Anchor Account is created, an Onboarding Key must be set to allow On-Premises instances to connect. Navigate to the Manage Instances page as shown below and edit the Onboarding Key. This key needs to be entered in the cnMaestro On-Premises UI to connect to the Anchor Account. |
|
4.
|
Once the On-Premises server has been onboarded with the Key, it will be included in the Instances page. Multiple on-premises installations can be added to a single Anchor Account. |

Clicking the instance host name displays the server information collected.
Multiple Cloud Accounts
Individuals can belong to multiple Cambium Cloud accounts. To create another Cloud Account (NMS or Anchor), select Create Account from the drop-down in the top-right corner.
Figure 2 Multiple Cloud Management Accounts
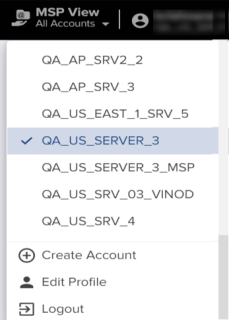
Account selection
To switch between accounts, use the drop-down in the top-right corner of the UI. It displays all accounts to which the user has access.
Figure 3 Account selection
Concurrent access
The same user can access multiple accounts simultaneously; however, each account needs to be opened in a separate browser window or tab.
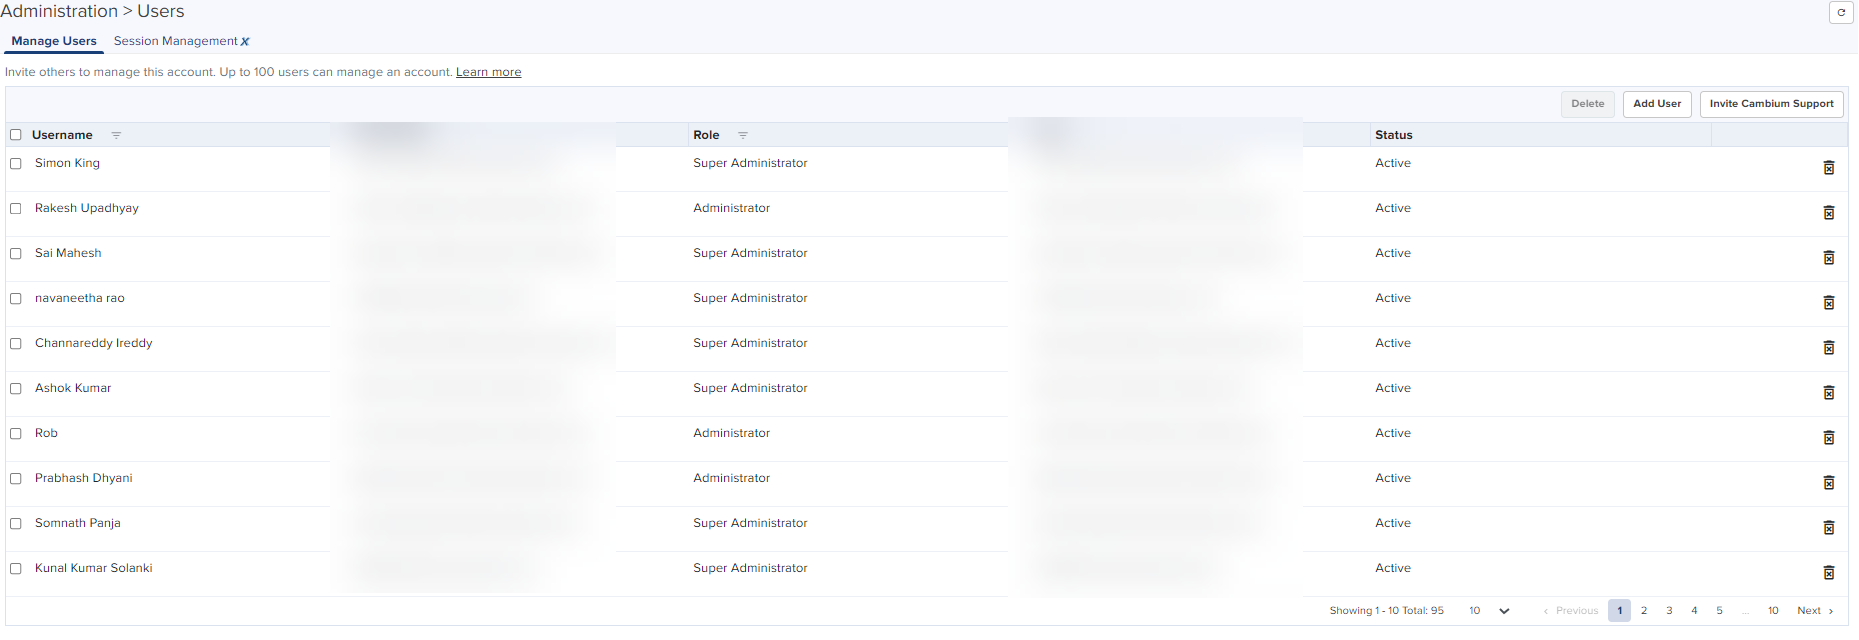
Managing users
A user can add additional administrators to their cloud management accounts and assign roles such as Administrator, Operator, and Monitor.
Figure 4 Managing users
Creating Users and Configuring User Roles
To add a user:
|
1.
|
Navigate to Administration > Users Page > Manage Users. |
|
3.
|
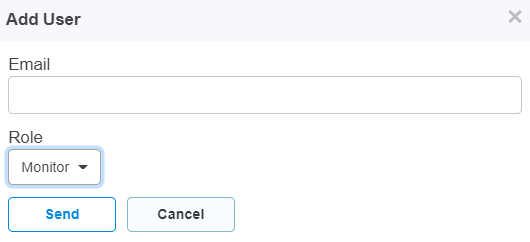
Enter the Email address in the Email text box. |
|
4.
|
To configure user role, select from the Role drop-down: |
For more details on user Roles, refer to Role-Based Access .
|
6.
|
Cambium Cloud sends an email with directions on how to access the Cloud management account. |

|
Note
The email does not need to match the email address of an existing Cambium user.
|
|
8.
|
Login using an existing Cambium Support Center account or create a new Cambium Support Center account. |
Organization
Organizations allow multiple Cloud NMS Accounts and Anchor Accounts to consolidate CBRS billing into one Primary Account.
|
|
Primary Account: provides services such as Shared SAS ID and Unified Payments to multiple accounts. |
|
|
Secondary Account: shares services such as CBRS billing SAS ID; the Secondary Account is linked with the Primary Account. |
Organizations are currently only used with CBRS. Refer CBRS on how they can simplify CBRS management across multiple accounts.
General details of Organizations include:
|
1.
|
One Organization can include accounts created in different countries and regions. |
|
2.
|
The maximum number of accounts managed by an Organization is 5. |
|
3.
|
There is one required Primary Account in an Organization and optionally multiple Secondary Accounts. |
|
4.
|
Removing the Primary Account will dissolve the Organization. |
|
5.
|
Both NMS and Anchor Accounts can be included in an Organization, and either can be Primary. |